Learn our inside tips and tricks on how to master the art of touch up paint. Mastering the skill of touch up painting is essential for every homeowner. Over time, walls can develop imperfections like scratches, scuffs, or small chips. These flaws can detract from your home’s overall appearance and even decrease its value. Through touch up painting, you can hide wall imperfections and maintain a fresh, polished look in your living space. This article will guide you through the touch up procedure and provide you with touch-up tips and techniques for seamless results.
As painting experts in Brisbane, we are well-versed in everything related to house painting, including minor paint repairs and paint patching. We even offer free paint touch ups weeks after we’ve painted your home, ensuring your new paint job lasts years! We understand that not every mark or scruff on a wall warrants professional painters, so here are our tips and tricks for small paint jobs!
Preparation: Gathering the Necessary Tools and Materials
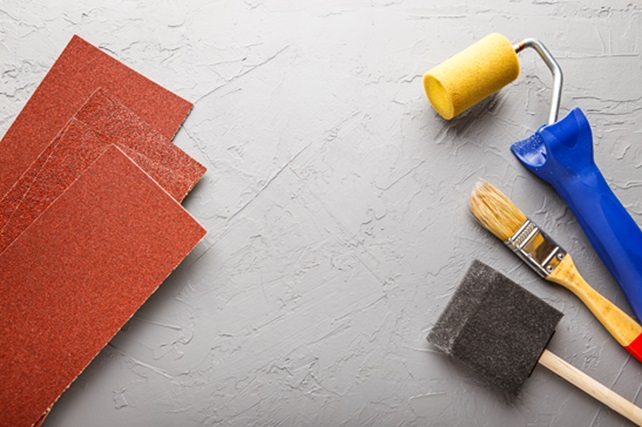
Before you begin the touch up paint process, it’s important to gather all the necessary tools and materials. Here are the items you will need, including touch up brushes and other touch up supplies:
- Paint: Obtain the same type and colour of paint that was used on the wall. If you don’t have the original paint can, take a small sample of the existing paint to a local Bunnings or paint store for colour matching.
- Primer: If the damaged area is extensive or the existing paint is faded, it is advisable to use a primer before applying the touch up paint. The primer will ensure better adhesion and a more consistent finish.
- Brushes: Choose a high-quality brush with soft bristles for touch-up painting. A small, angled brush will allow for precise application and better control. Just buy a few brushes no need for a professional house painter’s brush set!
- Sandpaper: If the damaged area is rough, use fine-grit sandpaper to smoothen it before painting. This will ensure a smoother touch up paint finish.
- Clean cloth: Always keep a clean cloth handy to wipe away any dust or debris from the damaged area before painting.
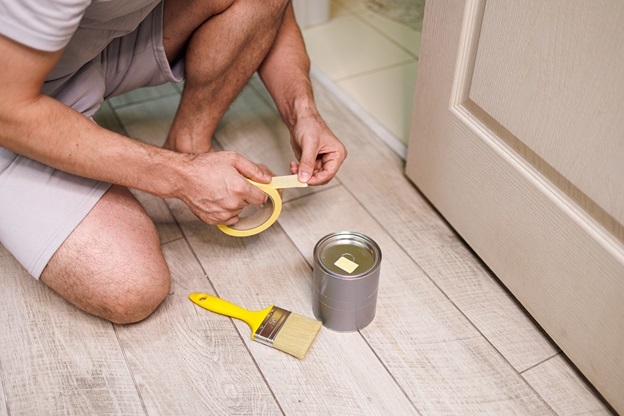
- Painter’s tape: If you need to protect adjacent areas from accidental paint splatters, use painter’s tape to create a clean line and ensure a professional look. We recommend buying painter’s tape as it helps any kind of DIY painting.
Step-by-Step Guide: How to Touch Up Paint on Walls Without It Showing
Now that you have all the necessary touch up paint supplies, let’s dive into the step-by-step touch-up procedure. Follow these touch-up tips to achieve flawless results:
- Clean the damaged area: Start by cleaning the damaged area using a mild detergent and water. This will remove any dirt, grease, or stains that could interfere with the adhesion of the touch up paint.
- Sand the damaged area: If the damaged area has rough edges or small chips, gently sand it using fine-grit sandpaper. This will create a smooth surface for the touch up paint to adhere to.
- Apply primer (if necessary): If the existing paint is faded or the damage is extensive, apply a thin layer of primer to the damaged area. This will provide a solid base for the touch up paint and ensure a consistent finish.
- Carefully apply the touch-up paint: Dip your brush into the touch up paint, removing any excess by gently tapping it on the edge of the paint can. Then, using light and even strokes, apply the paint to the damaged area. Start from the centre of the damaged spot and gradually work your way outwards, feathering the edges for a seamless blend.
- Allow the paint to dry: Let the touch up paint dry completely before assessing the results. This typically takes around 24 hours, but drying times may vary depending on the paint type and environmental conditions.
- Inspect and repeat if necessary: Once the paint has dried, inspect the touch up area under different lighting conditions to ensure a seamless blend. If needed, repeat the process by applying another layer of touch up paint and allowing it to dry.
By carefully following these steps, you can perform paint touch ups on your walls without it showing, achieving professional-looking touch up painting results.
Blending In Touch Up Paint: Techniques for Seamless Results
Blending in touch up paint is crucial to achieving a seamless finish. Here are some techniques on how to blend wall paint, how to blend paint on a wall, and tips for matching touch-up paint with the existing wall:
- Feathering: When applying the touch up paint, use feathering strokes to blend the edges with the surrounding wall. This technique involves gradually reducing the pressure on your brush as you move away from the centre of the damaged area, creating a soft transition.
- Dry brushing: To mimic the texture of the existing paint, use a dry brushing technique. Load your brush with a small amount of paint and then remove most of it by brushing it onto a clean cloth. Lightly brush the damaged area, allowing the texture of the brush bristles to create a subtle texture match.
- Layering: If the touch up paint is slightly lighter or darker than the existing wall, you may need to apply multiple thin layers to achieve a perfect colour match. Allow each layer to dry before applying the next, and remember to feather the edges for seamless blending.
Drying Time: How Long Does Touch Up Paint Take to Dry on Walls?
The drying time of touch up paint can vary depending on several factors, including the type of paint and the environmental conditions. Generally, wall repair paint takes around 24 hours to dry completely. However, some paints may require more time to fully cure and reach their optimal hardness. In Brisbane’s humid climate the paint may take longer to dry than what the paint tin says, as humidity can slow the patching drywall process.
To ensure the best results, avoid touching the paint until it has dried completely. This will prevent smudges or imperfections from occurring during the drying process. Additionally, keep the room well-ventilated and maintain moderate humidity levels, as excessive moisture can prolong drying times.
Common Mistakes to Avoid When Touch-Up Painting
While touch up painting is a relatively simple process, there are some common mistakes that you should avoid to achieve professional-looking results. Here are some touch up paint tips to guide you:
- Using the wrong paint: Ensure that you use the same type and colour of paint that was used on the wall originally. Using mismatched paint can result in noticeable colour variations.
- Not cleaning the area properly: Failing to clean the damaged area thoroughly can lead to poor adhesion of the touch up paint and a patchy finish. Always clean the area before starting the touch-up process.
- Applying too much paint: Overloading the brush with paint or applying thick layers can create a visible buildup and an uneven texture. Apply thin layers of touch up paint and allow each layer to dry before adding more if necessary.
- Not feathering the edges: Neglecting to feather the edges of the touch up paint can result in a noticeable line or patch. Take the time to blend the paint with the surrounding wall for a seamless finish.
Tips and Tricks from the Pros: How to Achieve Professional-Looking Results
To help you achieve even better results with your touch-up painting, here are some touch up tips and tricks from our amazing team of house painters. These will guide you through the touch up procedure.
- Keep spare touch up paint: After completing a painting project, store a small amount of the paint in a tightly sealed container for future touch ups. This way, you’ll always have the exact colour and finish on hand when needed.
- Test the touch up paint: Before applying the touch up paint to the damaged area, test it on a discreet section of the wall to ensure a colour match. This way, you can make any necessary adjustments before committing to the touch-up.
- Use natural lighting: When inspecting the touch up area for blending, use natural lighting whenever possible. Natural light provides the most accurate representation of colours and textures, allowing you to achieve the best results.
- Practice on a sample board: If you’re uncertain about the process, practice on a small sample board before attempting it on your walls. This will allow you to refine your technique and gain confidence before tackling larger areas.
Touch Up Painting for Different Types of Surfaces: Walls, Ceilings, and Trim
While the touch-up painting process remains largely the same for different types of surfaces, there are a few considerations to keep in mind. These include furniture touch ups, using the right touch up primer and tools, fixing holes in the wall, and repairing wall damage.
- Walls: When touch up painting walls, focus on blending the touch up paint with the existing wall colour. Use the techniques mentioned earlier to achieve a seamless finish.
- Ceilings: For touch up painting on ceilings, it is important to choose a paint with the appropriate sheen level to match the existing ceiling. Flat or matte paints are commonly used for ceilings, as they tend to hide imperfections better.
- Trim: When touch up painting trim, choose a paint that matches the trim colour and finish. Pay attention to details such as gloss or satin finishes, as they can affect the final appearance of the touch up paint.
And if all else fails you can call us anytime for a free quote!

