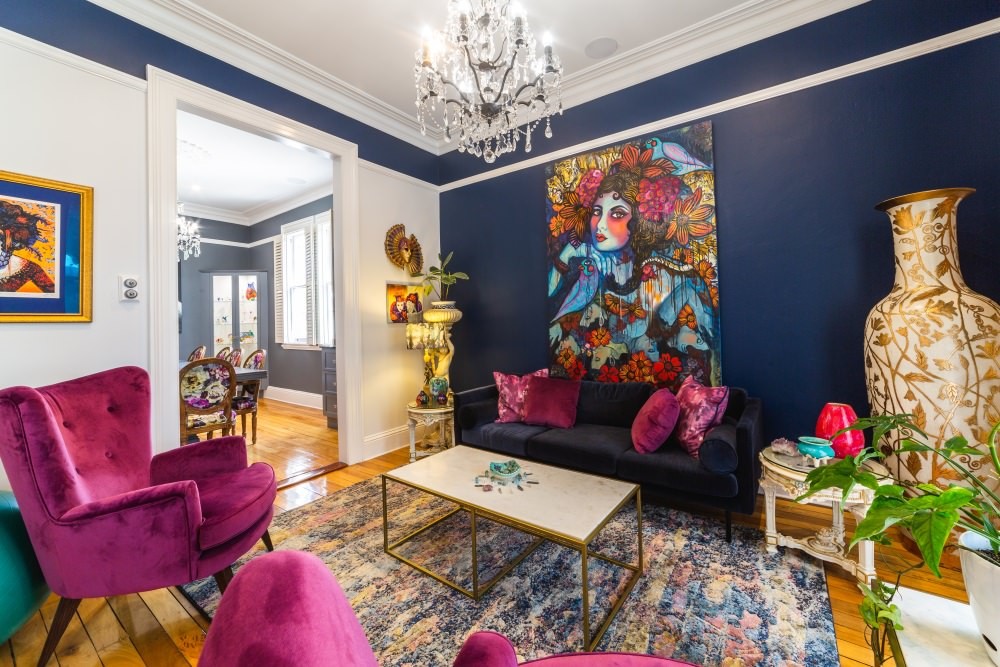
Interior painting can transform a house into a home, but it’s not without its challenges. Brisbane homeowners often embark on DIY interior painting projects with enthusiasm, only to encounter common pitfalls that can lead to disappointing results. Avoiding these mistakes is crucial for achieving a professional-looking finish and creating the desired ambience in living spaces.
This blog highlights 12 key interior painting mistakes that Brisbane residents should steer clear of. From selecting paint types for interiors to mastering room painting tips, we’ll cover essential aspects of the painting process. Readers will learn about proper painting preparation, techniques for cutting in, and considerations for painting small spaces and accent walls. By understanding these common errors, homeowners can ensure their interior wall painting projects result in beautiful, long-lasting finishes.
1. Using Cheap Paint
One of the most common errors is choosing inexpensive paint. While it may seem like a cost-effective solution, using cheap paint can increase both supply and labour costs compared to higher-quality options. Low-quality paints are typically thinner, containing less pigment and binder – the essential ingredients for an even application of colour.
These cheaper paints often require multiple coats to achieve adequate coverage, especially when painting over bright or dark colours. In some cases, low-quality paint may need four or more coats to achieve the desired result, significantly extending the time required to complete the project. This not only increases labour costs but also means purchasing more paint, negating any initial savings.
Furthermore, cheap paints are more prone to damage and may require frequent touch-ups or repainting. They can fade and lose their colour faster, leading to a shorter lifespan for the paint job. In the long term, this means homeowners may need to repaint more often, resulting in higher overall costs.
2. Using Inferior brushes and rollers
Another crucial aspect of interior painting is selecting the right tools for the job. Using low-quality brushes and rollers can have a significant impact on the finish of the paint job. Cheap brushes often have loose bristles that can detach during painting, leaving unsightly marks on the walls. Similarly, low-quality rollers may shed fibres, resulting in an uneven texture on the painted surface.
Investing in high-quality brushes and rollers is essential for achieving a professional-looking finish. Good quality tools not only provide better coverage but also make the painting process easier and more efficient. When choosing brushes and rollers, it’s important to consider the surface being painted and select the appropriate size and type for the project.
3. Neglecting essential prep materials
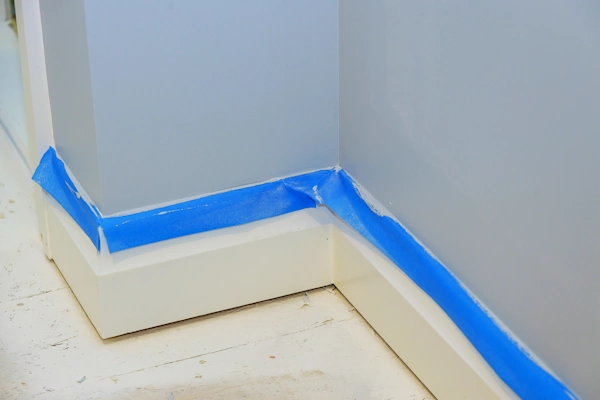
Proper preparation is key to a successful interior painting project. Unfortunately, many homeowners overlook the importance of investing in essential prep materials. Items such as painter’s tape, drop cloths, and sandpaper are crucial for protecting surfaces and ensuring a smooth finish.
Using high-quality painter’s tape helps create clean edges and protects non-paintable surfaces from accidental paint application. Drop cloths are essential for safeguarding floors, furniture, and fixtures during the painting process. Neglecting these protective measures can lead to costly mistakes and damage to surrounding areas.
Additionally, investing in quality primers and fillers is crucial for achieving a professional-looking result. A good primer improves paint adherence and ensures a smooth, uniform finish. Using appropriate fillers to repair cracks, holes, and imperfections in the walls before painting is also essential for a flawless end result.
4. Failing to clean and degrease surfaces
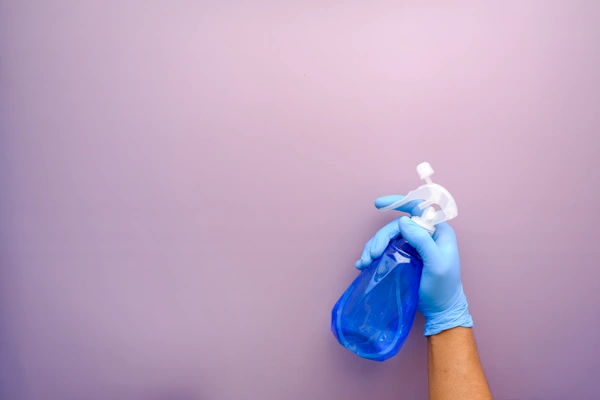
One of the most critical steps in preparing for interior painting is thoroughly cleaning the surfaces to be painted. Dirt, dust, grease, and other contaminants can prevent paint from adhering properly, resulting in an uneven and potentially short-lived finish. To ensure the best results, it’s essential to clean the walls with a suitable cleaning solution before painting.
A mixture of mild detergent and warm water is often sufficient for most walls. However, for particularly greasy areas, such as kitchen walls, a solution of warm water and dish soap can be more effective. For those who prefer non-chemical alternatives, distilled white vinegar or baking soda can serve as excellent cleaning agents.
When cleaning, start from the top of the wall and work your way down, using a damp sponge or cloth. Pay special attention to areas prone to accumulating dirt and grime, such as corners and areas near light switches. After cleaning, it’s crucial to rinse the walls thoroughly with clean water to remove any residual cleaning solution.
5. Skipping repairs and patching
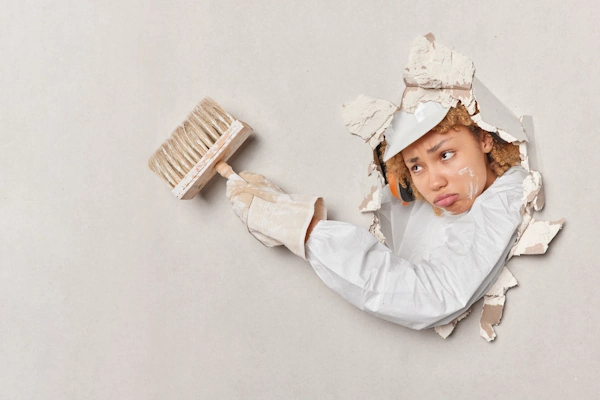
Another common mistake is failing to address existing damage or imperfections in the walls before painting. Cracks, holes, and other surface irregularities can significantly impact the final appearance of the paint job. Taking the time to repair these issues before painting is essential for achieving a smooth, professional-looking finish.
For small holes and cracks, use a suitable filler or spackle to patch the area. Once the filler has dried, sand the repaired areas to ensure a smooth surface. For larger areas of damage, it may be necessary to replace sections of drywall or seek professional assistance.
It’s also important to remove any loose or peeling paint from previous paint jobs. Use a scraper to remove damaged paint and sand the edges to create a smooth transition between the old and new paint. Failing to address these issues can result in an uneven surface and premature peeling of the new paint.
6. Not allowing adequate drying time
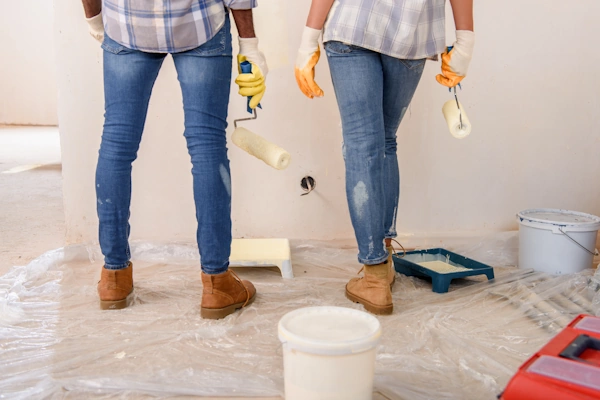
One of the most crucial aspects of interior painting that is often overlooked is allowing sufficient drying time between each step of the process. Rushing to apply paint before the surface is completely dry can lead to a host of problems, including poor adhesion, bubbling, and an uneven finish.
After cleaning and repairing the walls, it’s essential to allow them to dry completely before applying primer or paint. The drying time can vary depending on factors such as humidity and temperature, but it’s generally best to wait at least 24 hours after cleaning before proceeding with painting.
Similarly, it’s crucial to allow adequate drying time between coats of paint. While modern paints often dry to the touch relatively quickly, they may not be fully cured for several hours or even days. Following the manufacturer’s recommendations for recoat times is essential to ensure the best possible results.
By taking the time to properly prepare surfaces, make necessary repairs, and allow for adequate drying time, Brisbane homeowners can significantly improve the quality and longevity of their interior painting projects. Patience and attention to detail during the preparation phase will pay off in the form of a beautiful, long-lasting finish.
7. Choosing colours without testing
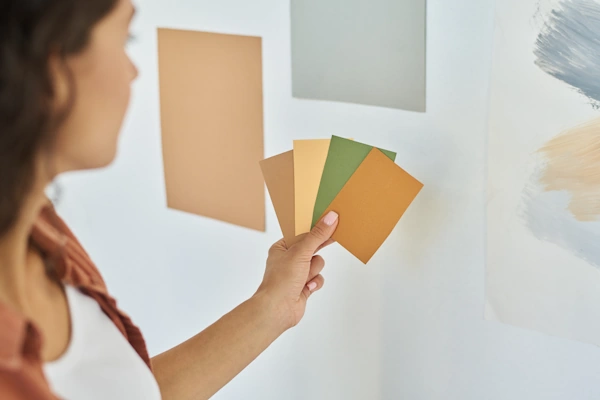
One of the most common errors in DIY interior painting is selecting colours without adequate testing. Many homeowners rely solely on small paint swatches or dipped lolly sticks, which are simply not sufficient for making an informed decision. To avoid this pitfall, it’s crucial to invest in sample pots and test the colours on larger areas of the wall.
Experts recommend painting a minimum area of 30cm x 30cm for each colour under consideration. This approach allows for a more accurate representation of how the colour will appear on the wall. It’s also important to apply two coats, as this is typically what the final painted wall will require. By testing colours directly on the wall, homeowners can take into account the texture of the surface and how the paint interacts with it.
8. Ignoring lighting effects on paint
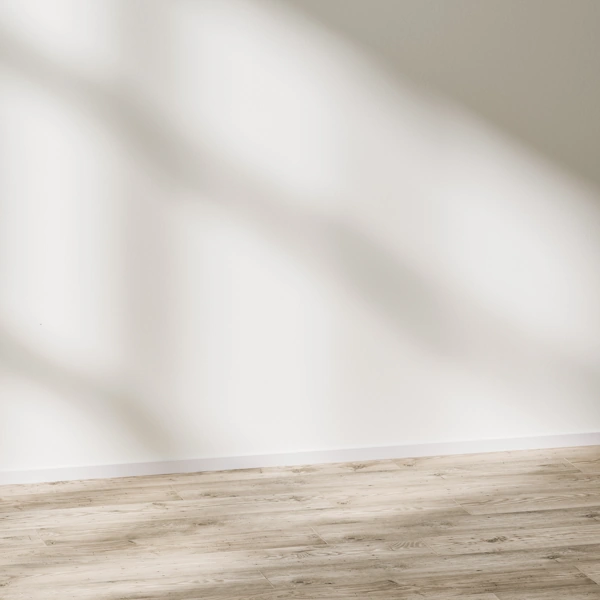
Another critical factor that’s often overlooked is the impact of lighting on paint appearance. Natural and artificial light can significantly alter how colours look in a room. To ensure the best results, it’s essential to assess colours in various lighting conditions throughout the day.
Natural light streaming through windows provides the truest representation of colours. However, the direction and position of windows can create different effects. For instance, south-facing rooms receive softer light, lending a warm ambience, while north-facing rooms have more intense light that can enhance darker hues and fade lighter ones. West-facing rooms may exhibit a pleasant orange tint during the evening, whereas east-facing rooms might showcase a subtle green undertone.
Artificial lighting also plays a crucial role in how colours appear. Different types of bulbs can create varying effects on painted surfaces. For example, incandescent lighting tends to make colours appear warmer and more yellow, while fluorescent lighting can make them seem cooler and bluer. LED lighting, which comes in various colour temperatures, can enhance the brightness and vibrancy of colours depending on the specific temperature chosen.
9. Selecting inappropriate sheen levels
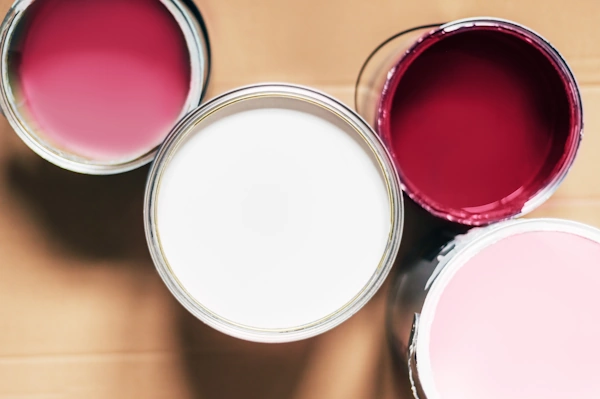
The choice of paint finish or sheen level is another aspect that Brisbane homeowners often overlook when undertaking interior painting projects. The sheen of paint can have a significant impact on the overall look of the finished product and shouldn’t be an afterthought.
A paint sheen is a measure of how much light reflects off a painted surface, ranging from no shine to high shine. Lower sheen levels result in more saturated colour and can help hide wall imperfections, while higher sheen levels are more durable but may showcase wall flaws. It’s essential to consider the specific requirements of each room when selecting a sheen level.
For instance, flat or matte finishes are ideal for low-traffic areas and can help camouflage surface imperfections. However, they are less durable and harder to clean. On the other hand, semi-gloss and gloss finishes are highly durable and easy to clean, making them suitable for high-traffic areas like kitchens and bathrooms. Eggshell and satin finishes offer a good balance between durability and appearance, making them popular choices for most interior walls.
10. Applying too thick or thin coats
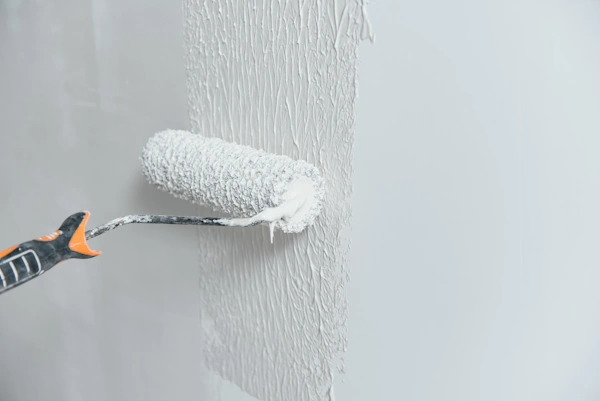
One of the most frequent mistakes in interior painting is applying uneven coats, resulting in streaks, patches, and an overall unprofessional appearance. To achieve a smooth, even finish, it’s crucial to apply multiple thin coats rather than one thick coat. This approach allows each layer to dry properly and adhere better, producing a more durable finish.
The ideal thickness for interior paint is between 1.5 to 3 millimetres (approximately 1/16 to 1/8 of an inch). To ensure the correct thickness, homeowners can use a wet film thickness gauge, a small device that measures paint thickness in mils (one mil equals one-thousandth of an inch).
10. Neglecting cutting-in techniques
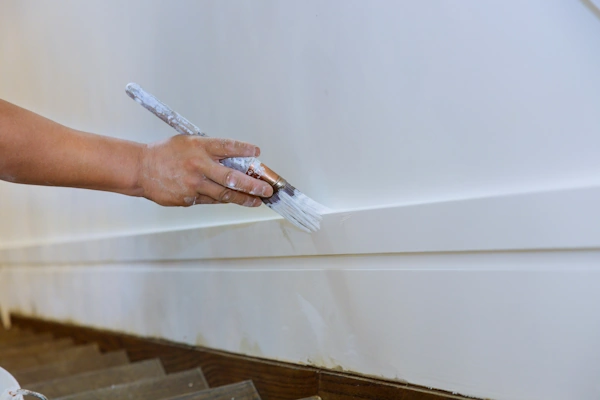
Cutting in is a crucial technique used when painting tight areas such as edges of walls, ceiling lines, corners, and around window and door frames. Many DIY painters make the mistake of cutting in all areas first and then rolling the entire room, which can result in a patchy, uneven finish.
To avoid this issue, it’s best to cut in and paint one section at a time. When cutting in, start a little away from the edge and then come back to create a straight line. This technique helps maintain a wet edge, ensuring the paint blends smoothly when rolling the broader surface.
12. Failing to maintain a wet edge
Maintaining a wet edge is essential for achieving a consistent finish without visible lines or lap marks. This technique involves keeping the edge of the painted area wet so that when rolling the broad surface, the wet paint blends smoothly.
To maintain a wet edge, it’s crucial to work in sections and avoid overworking the paint. Apply the paint in a large zig-zag pattern, then fill in the space with criss-cross strokes. Once the area is covered, level the finish with long, parallel strokes before the paint begins to dry.
Conclusion
Steering clear of these common interior painting mistakes can have a significant impact on the outcome of your project. By investing in quality materials, taking the time to prepare surfaces properly, and carefully considering colour and finish choices, Brisbane homeowners can achieve professional-looking results that stand the test of time. Paying attention to proper application techniques, including maintaining a wet edge and using the right tools, is also crucial to ensure a smooth and even finish.
To wrap up, successful interior painting requires a combination of thoughtful planning, careful preparation, and skilled execution. By avoiding these pitfalls and following best practices, homeowners can transform their living spaces with beautiful, long-lasting paint jobs that enhance the overall appearance and value of their homes. Remember, a little extra effort and attention to detail can make all the difference in creating a space you’ll love for years to come.

